How To Stake Your Geobot NFT
As a cross-chain collection, staking your Geobot in the holder-only pool on Helix essentially requires depositing your NFT on the Solana blockchain, and retrieving a wrapped version on Ethereum. Having done so, you can enjoy the great artwork AND passive income your bot provides.
Luckily, its a lot easier than it sounds with the Nexus Multi-Network Bridge, and it only takes a minute!
A maximum of 12 Geobots can be wrapped and transferred through the Nexus bridge at any one time
Nexus Multi-Network Geobot Bridge
The Nexus multi-network Geobot bridge is a simple, yet innovative solution, that allows the Geobots to be used on the various blockchains in which Geometry will have a presence. With it, holders of a Geobot NFT can take advantage of the cross-chain nature of the ecosystem in order to obtain the highest possible yields.
As the Geometry ecosystem continues to expand, the Multi-network bridge will follow suit, providing the Geobots, and their holders, with full interoperability throughout the network.
Transferring Multiple NFT's Through Nexus
To enable an easier, cheaper, and more efficient user experience, Nexus allows a maximum of 12 NFT's to be transferred in one transaction. The process for doing so remains the same as transferring singular NFT's, however, multiple NFT's are batched together as a single asset.
Bridging Geobot NFT's Using The Nexus Multi-Network Bridge
To stake Geobots on Helix.Finance and begin earning yield from the platform, they must first pass through the Nexus bridge, in order to move from Solana to Ethereum.
To do so, simply navigate to https://nexus.helix.finance/ and connect both an Ethereum-side Metamask wallet, and a Solana-side Phantom wallet (containing Geobot NFT's).
Both wallets should contain an amount of each chains native currency to allow for gas fees, which can be monitored here. It's recommended that you check current gas costs before bridging, as they can rise rapidly during congested periods on Ethereum.
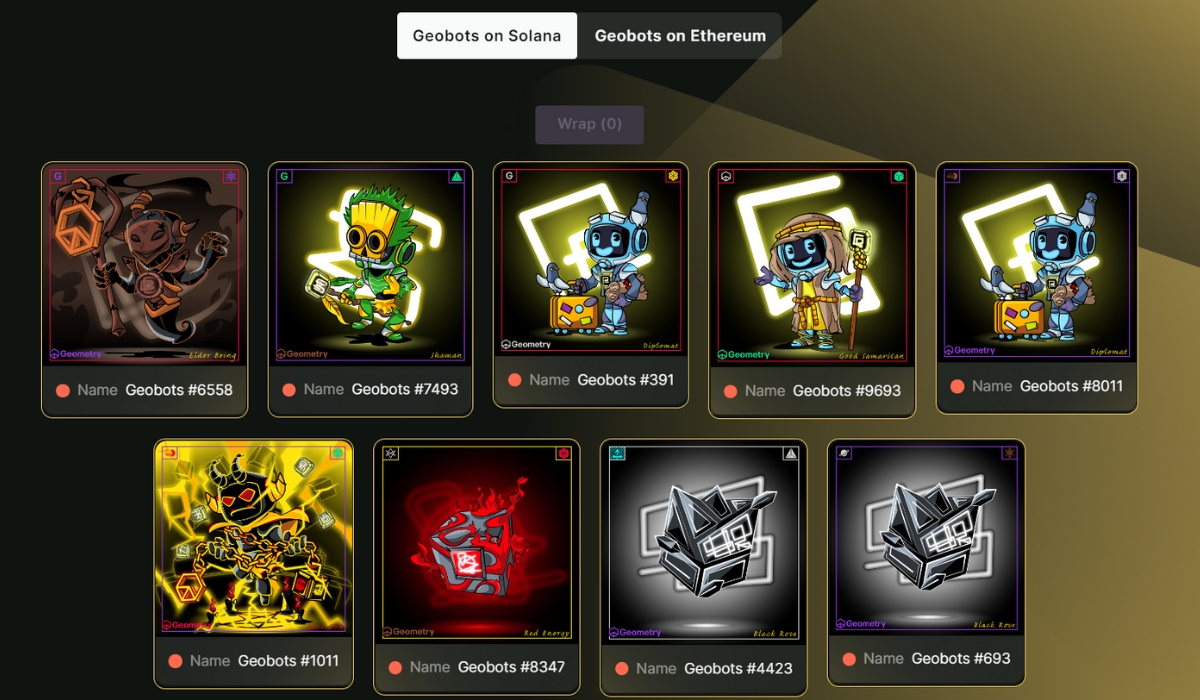
After connecting both wallets, any Geobots residing in either will show in the relevant displays. The Nexus bridge is multi-directional, allowing holders to transfer NFT's in either direction.
In this example, we have 9 Geobots in a Phantom wallet on Solana, so we can see them on the "Geobots on Solana" tab.
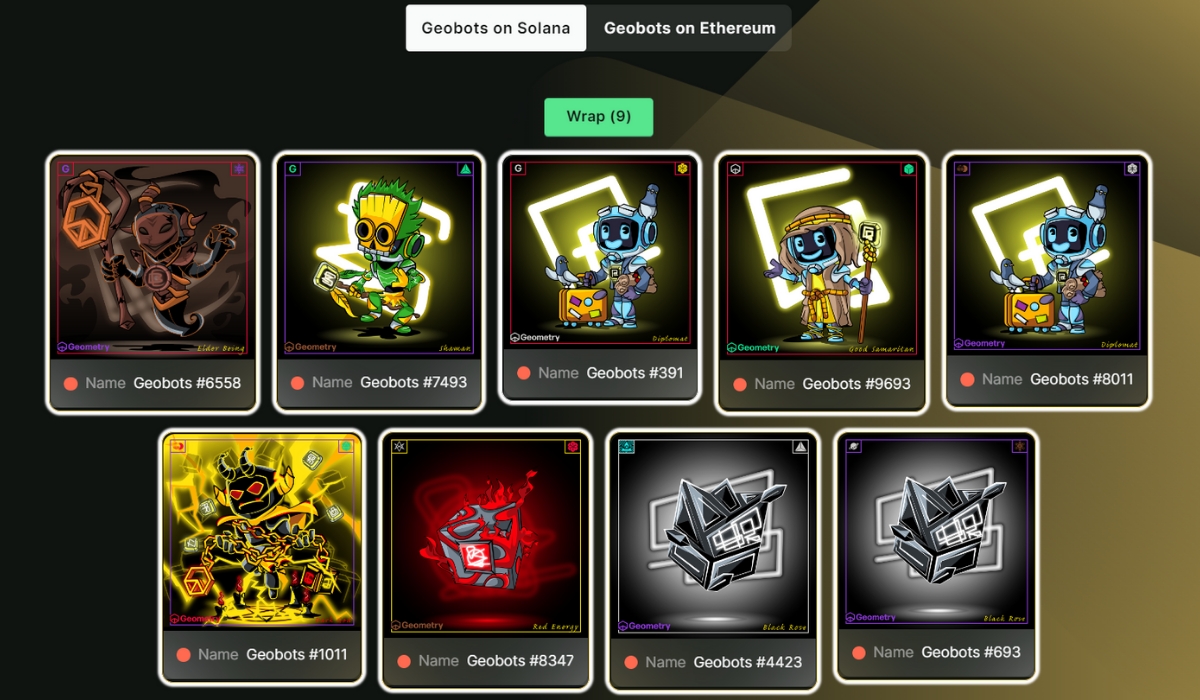
Select the NFT/NFT's you would like to bridge - up to 12 is possible in one transfer, allowing for a reduction in gas fees for holders of multiple Geobots.
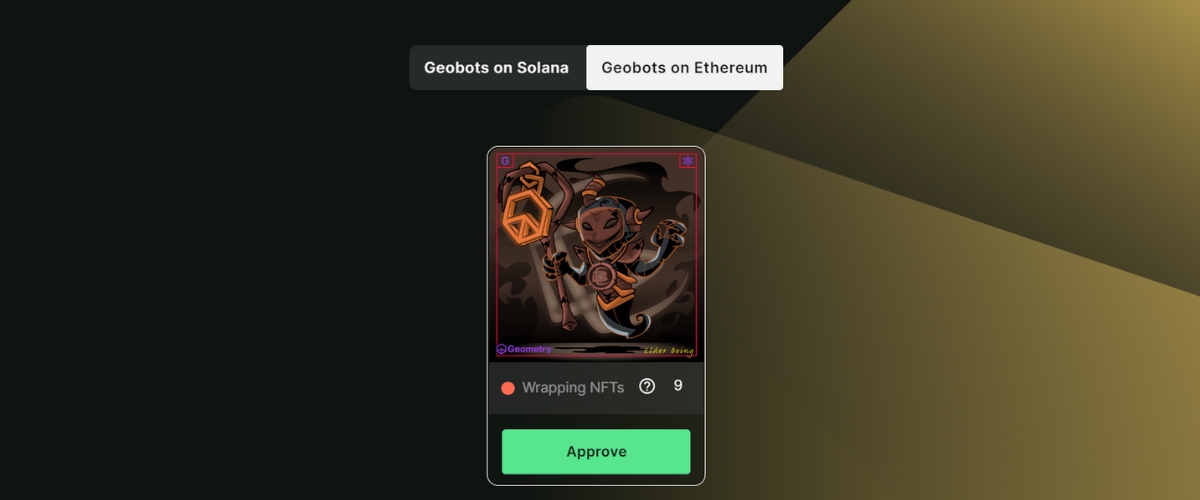
After selecting at least 1 NFT the "Wrap" tab will be made available to use, select this and confirm the transaction. As part of this process, the selected NFT's will be wrapped together as one asset.
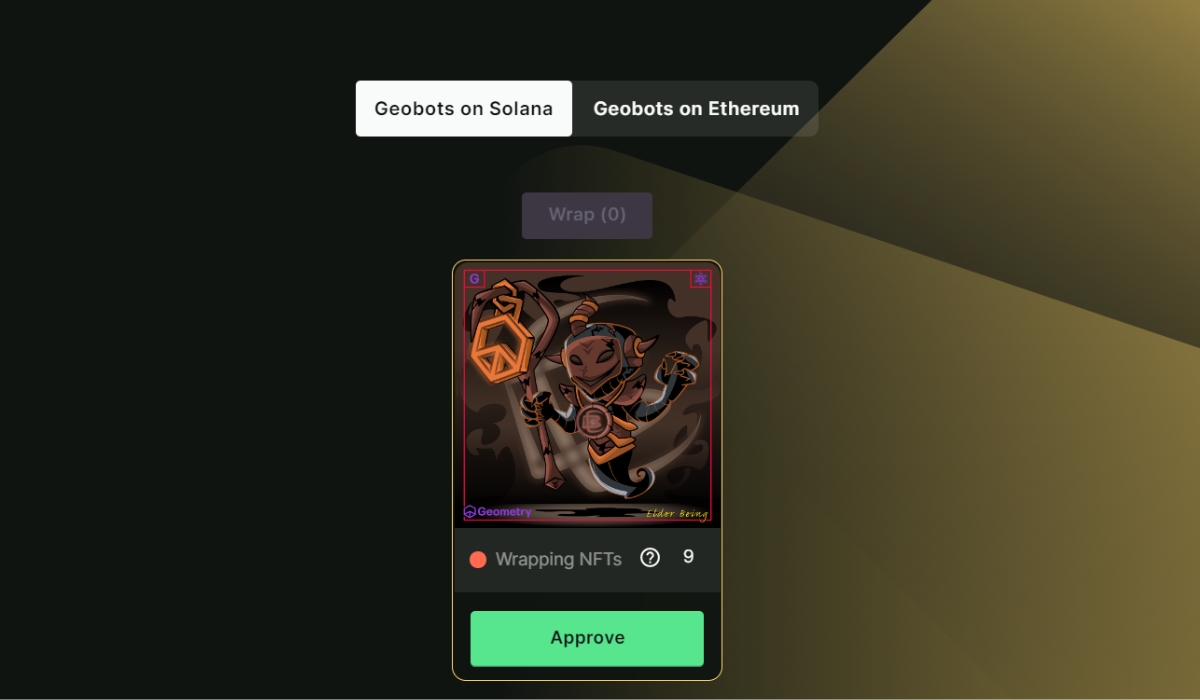
After wrapping an approval tab will appear, select this to continue with the bridging process, and confirm in the wallet popup.
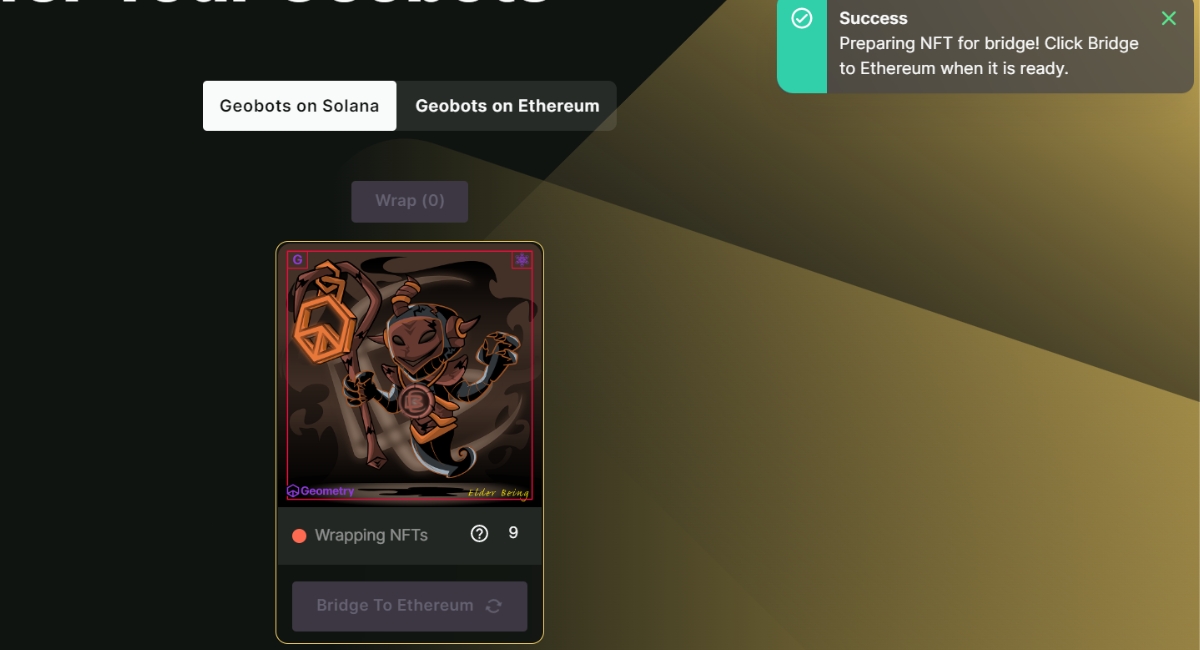
When complete, the "Bridge to Ethereum" tab will be available to choose, select this and confirm with the popup in your Metamask wallet. This will require funds on the target chain (Ethereum)
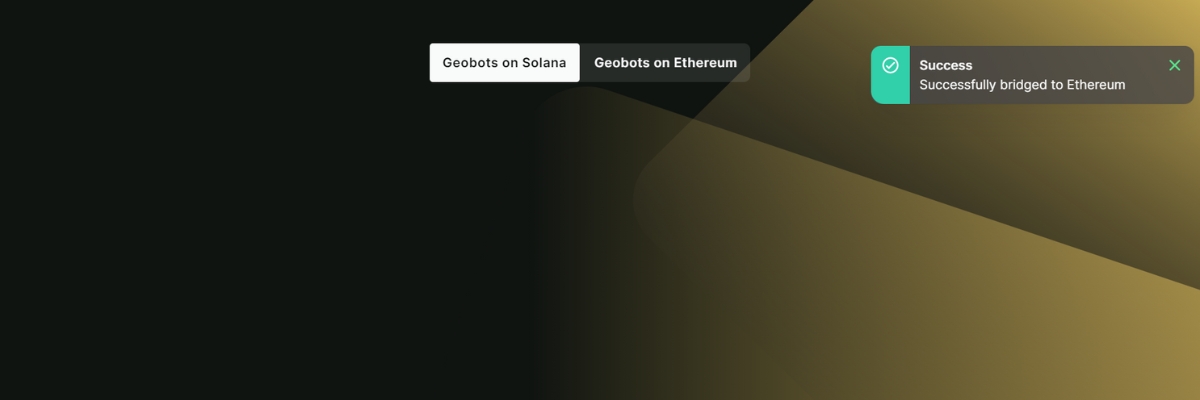
When the transaction and bridging process completes the NFT's will be removed from the immediate interface but can be viewed on the alternate side - in this case, if we change to "Geobots on Ethereum" we can see the NFTs, indicating a successful transfer.
Note: The amount of NFTs wrapped is shown in the "Wrapped/wrapping NFTs" section. Hovering over the "?" will show the individual NFT identifiers.
After successful transfer of the NFT to the target blockchain, the Geobot can be staked on the platform, and begin earning passive yield.
To begin staking, navigate to https://helix.finance/geobot-staking
What Is NFT Staking
Staking refers to the act of depositing an asset on a platform with the aim of earning financial income, and for the Geobots, this is no different.
Staking a Geobot NFT allows holders to earn passive income on an already-held asset, in a similar way to yield farms and the Helix launchpools. All without providing tokens for liquidity, and facing the risk of impermanent loss.
To stake in the holder-only pool at least 1 Geobot NFT is required in a Solana based wallet. Geobot NFT's can be purchased on Magic Eden.
How To Stake your Geobot NFT
Staking a Geobot NFT to capture cross-chain yields might sound confusing, but the process is actually relatively simple and straightforward. To do so however requires having a Geobot NFT on the Ethereum blockchain, so if you haven't already check out the previous section which explains this in detail.
Requirements for staking:
Geobot NFT residing in a Solana based decentralized wallet (Phantom is a great beginner wallet on Solana) - Check our guide for setting up the Phantom wallet.
Decentralized wallet for Ethereum (Metamask is a popular choice) - Check the full Metamask setup guide for further info.
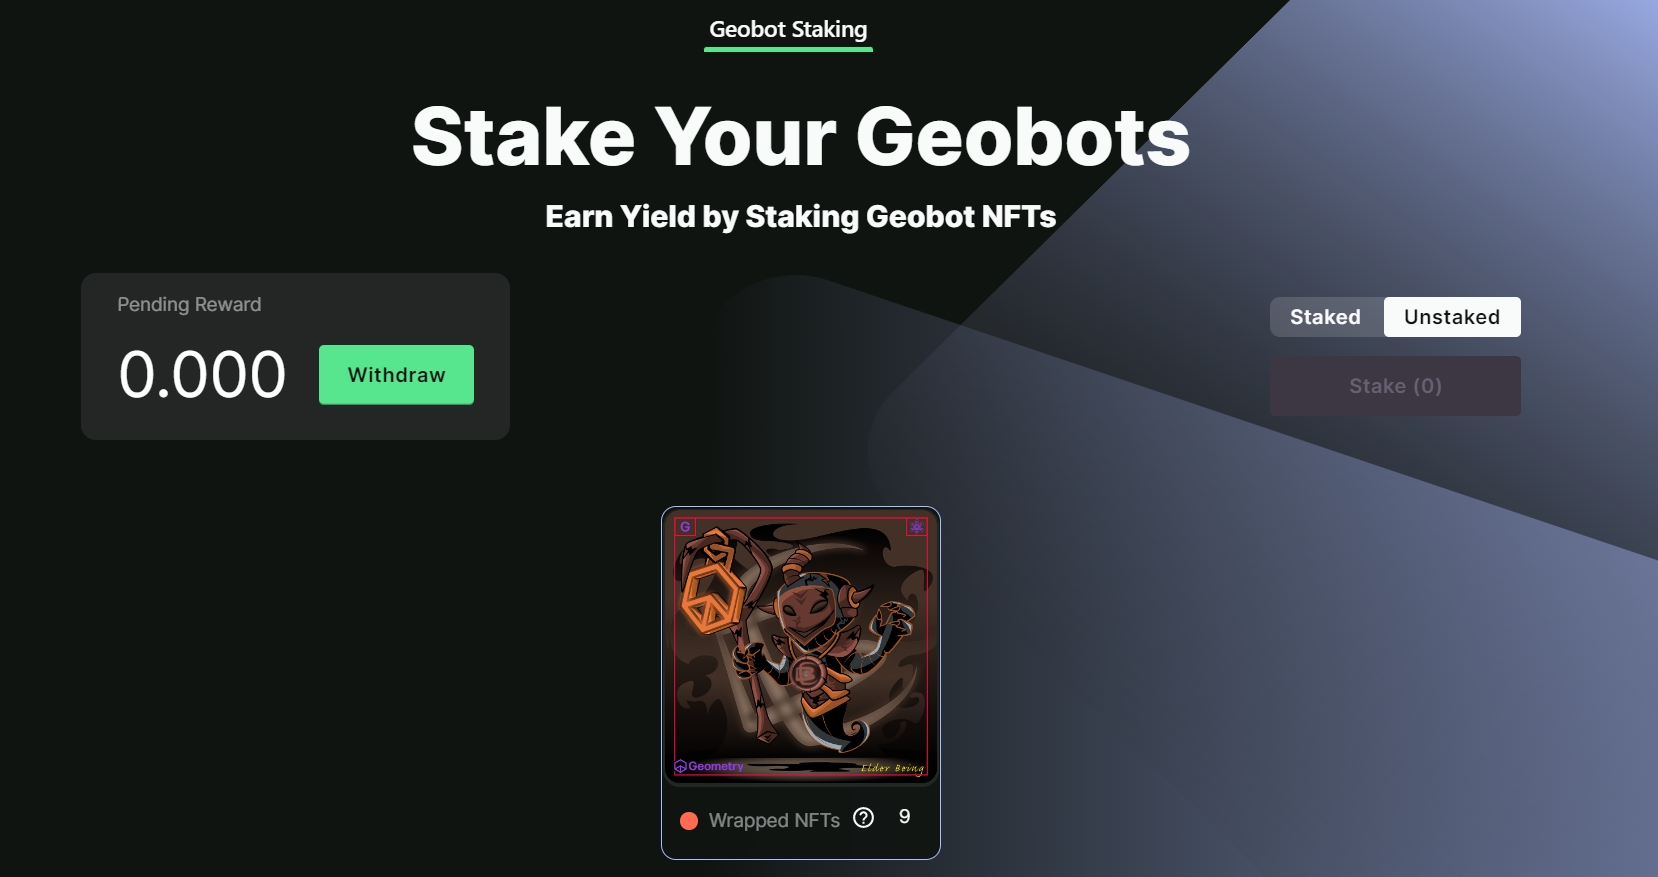
To get started, navigate to Helix.Finance and choose the NFT tab from the home screen. If you have already completed the previous steps and bridged Geobots over to Ethereum they will show on this display, in the unstaked tab.
For this example, we will be using the 9 Geobot NFTs that we have bridged over earlier in the process.
To stake your NFT's and start earning yield, select the image/images of the NFTs you want to deploy, at which point the "Stake" tab will become available.
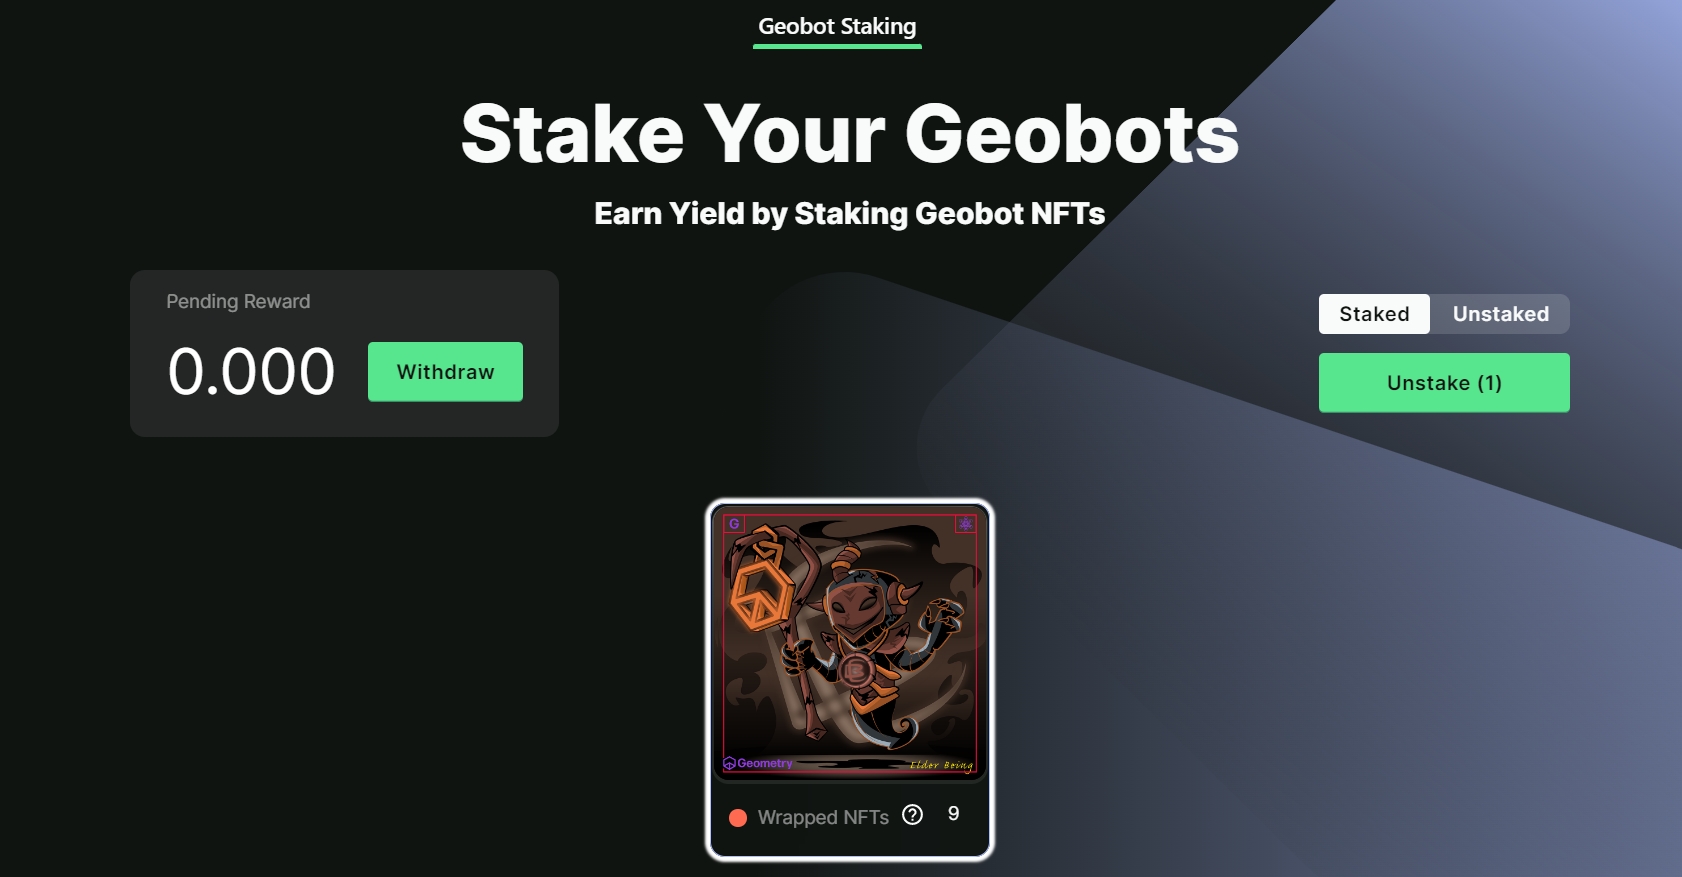
Note: The "Wrapped NFTs" section continues to display the amount of NFTs wrapped and staked, with the individual Geobots listed under the "?".
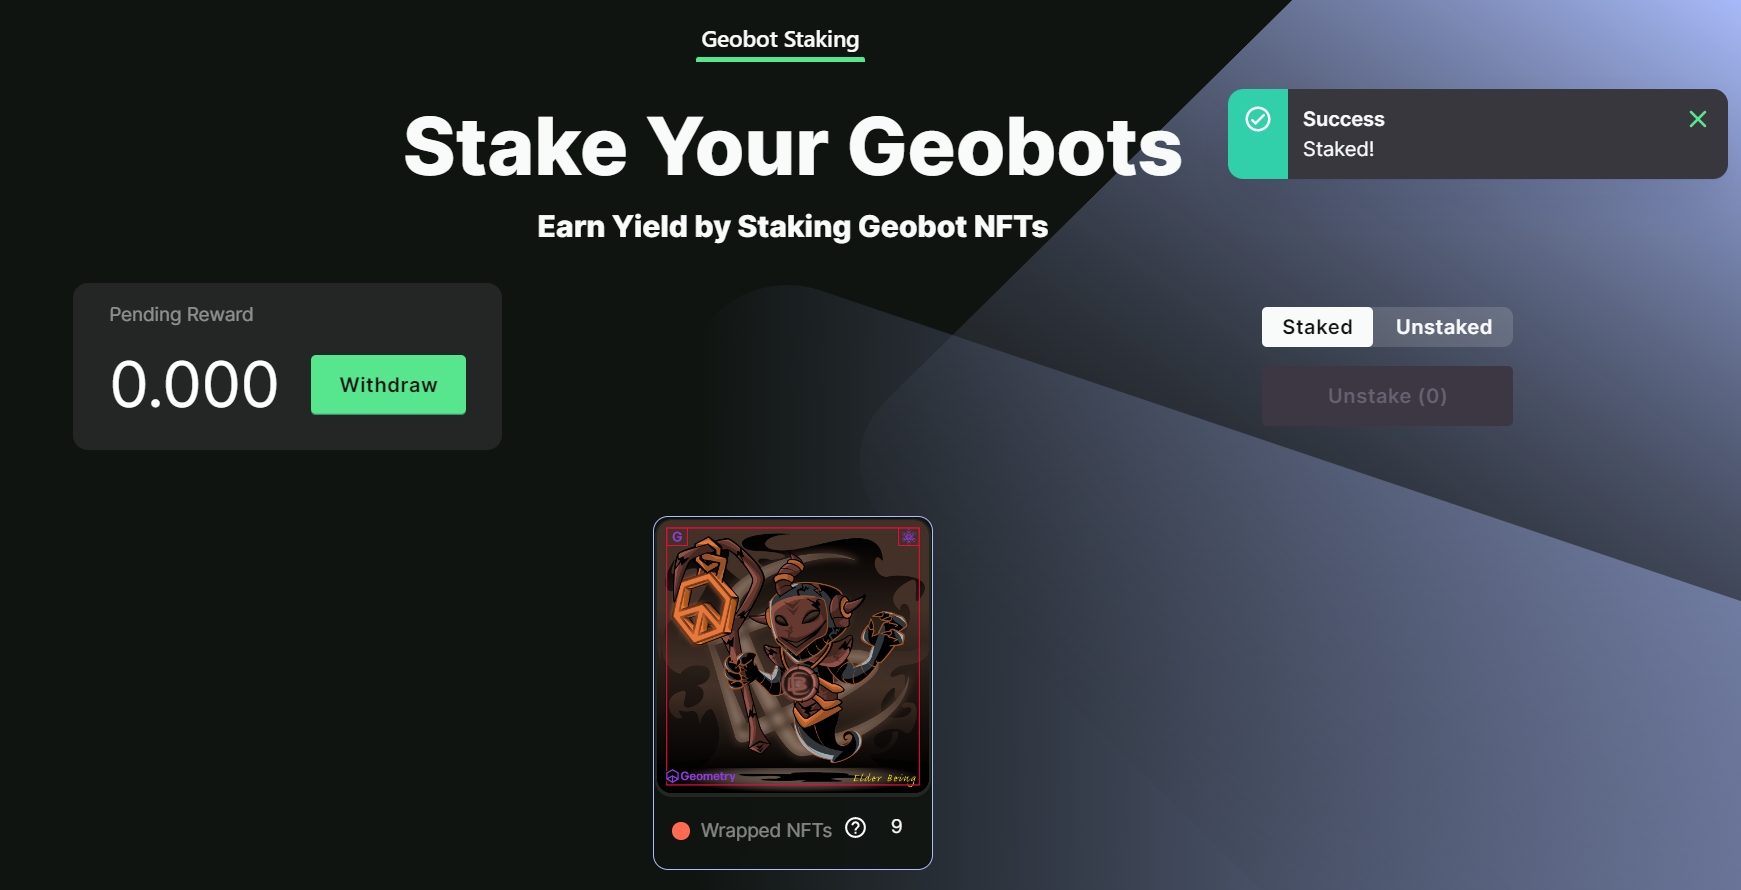
Select the "Stake" tab and confirm in the Metamask wallet popup. Remember, there is a gas fee associated with this.
After confirmation the NFT will disapear from the "Unstaked" tab, and can be found on the "Staked". At this point the Geobot NFT is earning passive yield for its owner and will continue to do so until unstaked and removed from the platform.
How To Unstake Geobot NFT's From The Holder-Only Pool
To unstake a particular Geobot, navigate to the NFT tab and choose from your staked collection. After choosing an NFT the unstake tab will become available, select this and confirm in your wallet. Again, there is a gas fee associated with this action.
Last updated