Wallet Setup & Connecting To Helix
Decentralized wallets permit users to store, manage, and trade cryptocurrency, in a non-custodial, and highly secure way, allowing for the use of DAPP's, or decentralized applications, where they are often the only identity needed, for that reason, setting up a wallet is one of the first things you should do before interacting with Helix, and any other DeFi platforms.
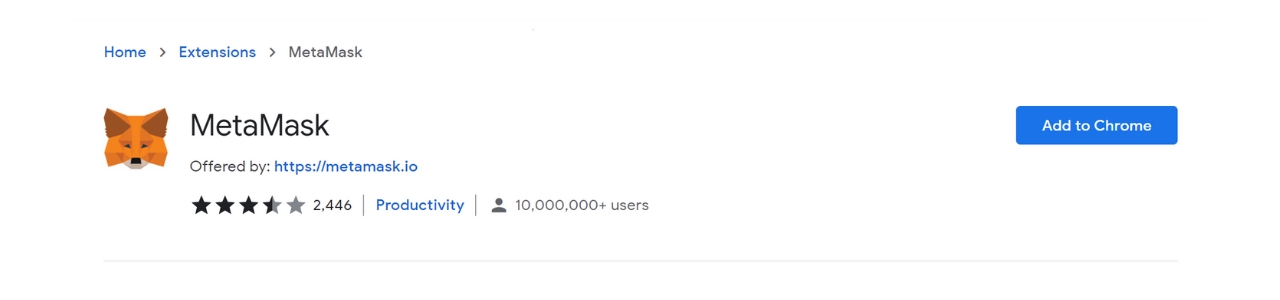
For this example we will be using Metamask, which is a beginner-friendly browser extension that makes it easy to trade on many different networks.
NEVER give anybody access to your wallet or secret phrase. Lost or stolen funds are irretrievable.
Wallet Setup & Connecting To Helix
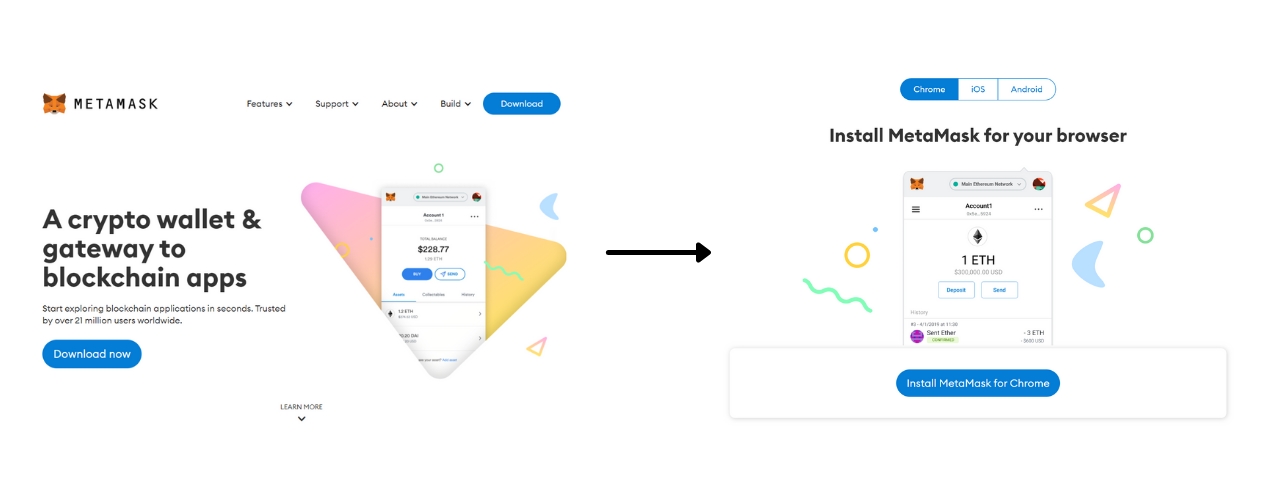
Navigate to metamask.io and choose the "Download now" tab
Metamask works on a variety of browsers and devices, for this example we are using Chrome so choose "Install Metamask for Chrome".
After being directed to the Chrome store, make sure it is the correct extension (There should be 10mil + users) and choose "Add to Chrome", confirm in the extension pop up to add Metamask to your browser extensions.
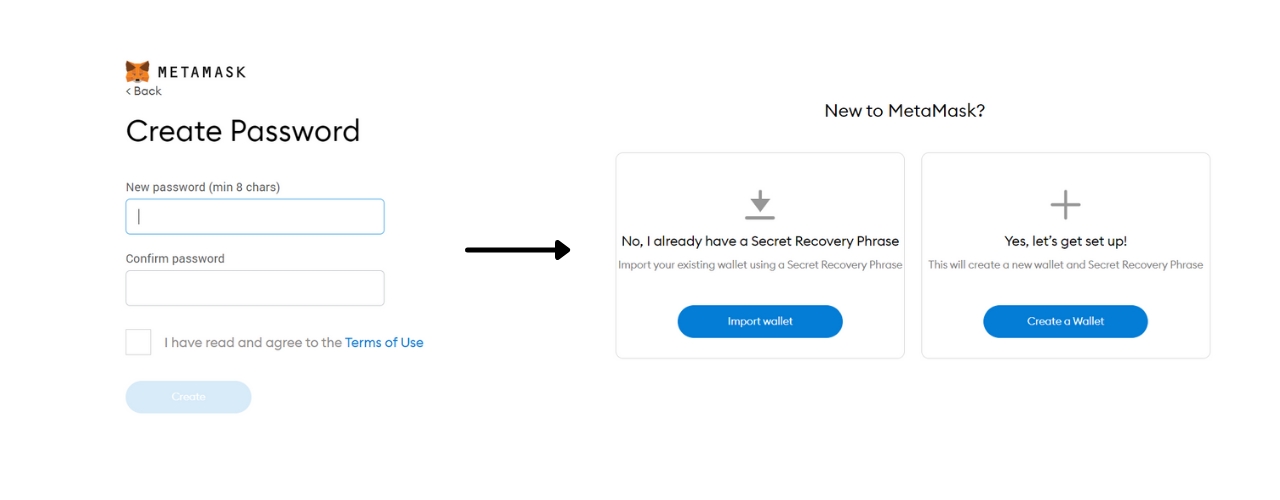
When Metamask has been added to your browser, hit the pin icon next to it in the extension toolbar of Chrome, (this will make it easier to find) and open the extension. Choose to create a new wallet and agree to the terms.
Next you will be asked to provide a password for the extension, which is used any time you need to log into your wallet to manage or move funds.
This password should not be confused with your secret phrase, which can be used to access your wallet from any device, but it should be kept secure at all times.
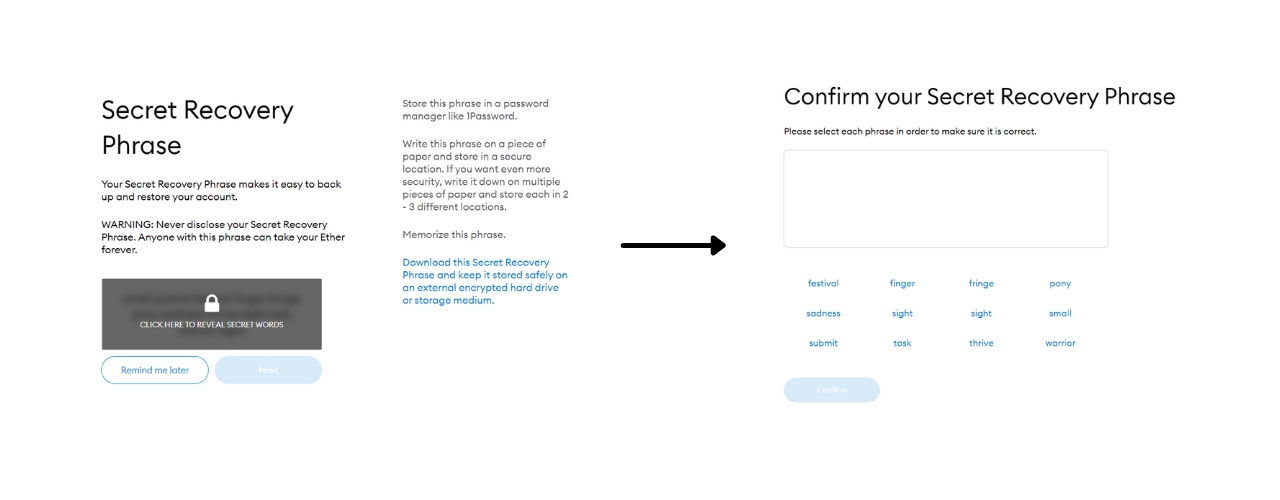
After setting a strong password hit confirm and move onto the secret phrase, which is one of the most important aspects of the whole setup, and allows you to recover your wallet (and funds) should you lose access.
On the first screen, click the shaded area to reveal the words underneath and make a hard, physical copy offline. Do not trust anybody with your backup phrase, ever.
Make a note of the secret backup phrase - you will be prompted to enter the words in correct order, having done so you can access the wallet.
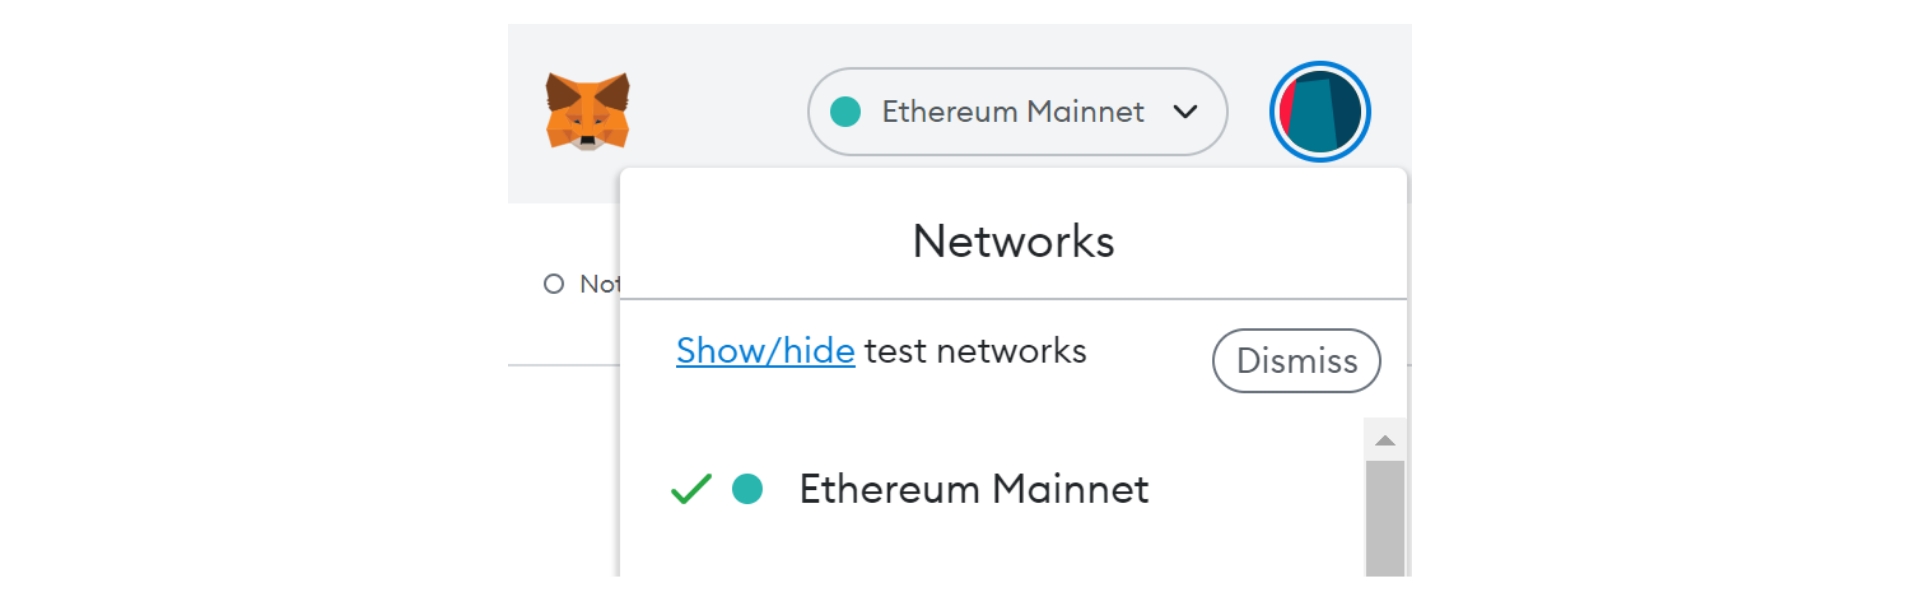
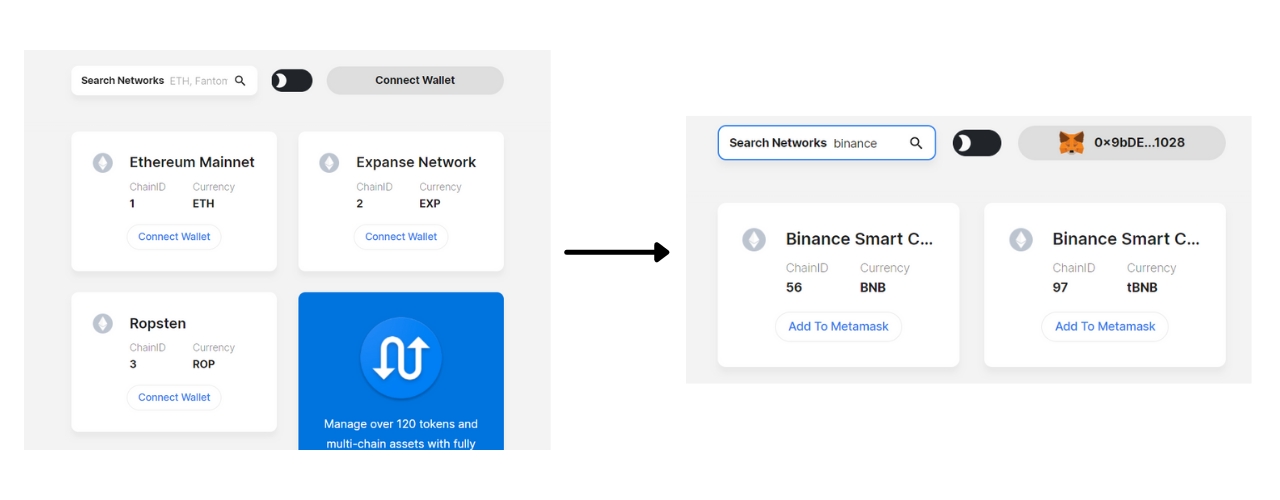
By default the wallet will be connected to the Ethereum network, when Helix deploys cross-chain, there will be a need to interact with other blockchains, to do so in your Metamask wallet will require you to add the networks, so head over to https://chainlist.org/ and connect your wallet at the top right of the page. This is the quickest, easiest, and safest way of adding the BSC, RSK, or any other network to your wallet.
In this example we will use Binance, so search for Binance in the field provided, and choose the Mainnet (ChainID: 56, Currency: BNB) by selecting "Add to Metamask"
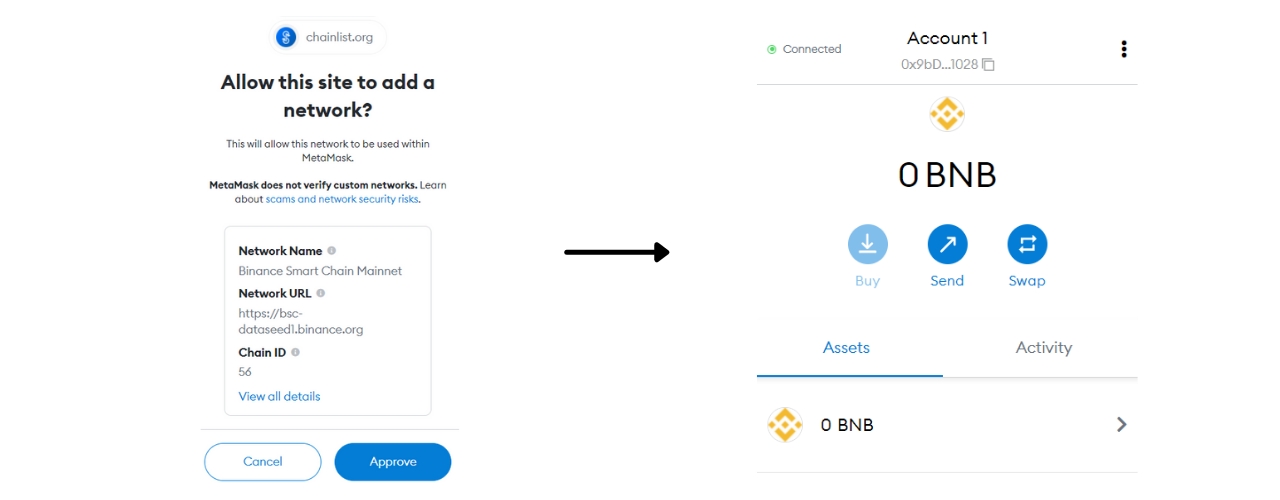
Confirm the action in your wallet with the Metamask popup, and allow Chainlist to switch networks. Your Metamask will now be on the Binance Smart Chain, allowing you to use the future BSC-based Helix, and other DAPP's on the network.
Now that you have a wallet available to trade, you will need to fund it via a centralized exchange or other source. To do so, ensure you are on the correct network with the tab at the top of your wallet, (Helix launches initially on Ethereum only). When you are on the correct network, copy the wallet address by tapping the long number under the account name. This wallet can be used to receive only ERC-20 tokens, which are usable on Ethereum.
Remember, all actions on-chain require a small transaction fee (GAS) that is paid in the native currency of each chain, in the case of Ethereum, this is ETH, so you will need to ensure you have an amount in your wallet.
When complete, simply head over to Helix and connect via the tab on the top right of the home screen.
When setting up your new decentralized wallet: ✅ Download the latest official version ✅ Pay attention, and safely store your backup phrase ❌ Never share recovery details ❌ Use Shared WiFi
Last updated